 |
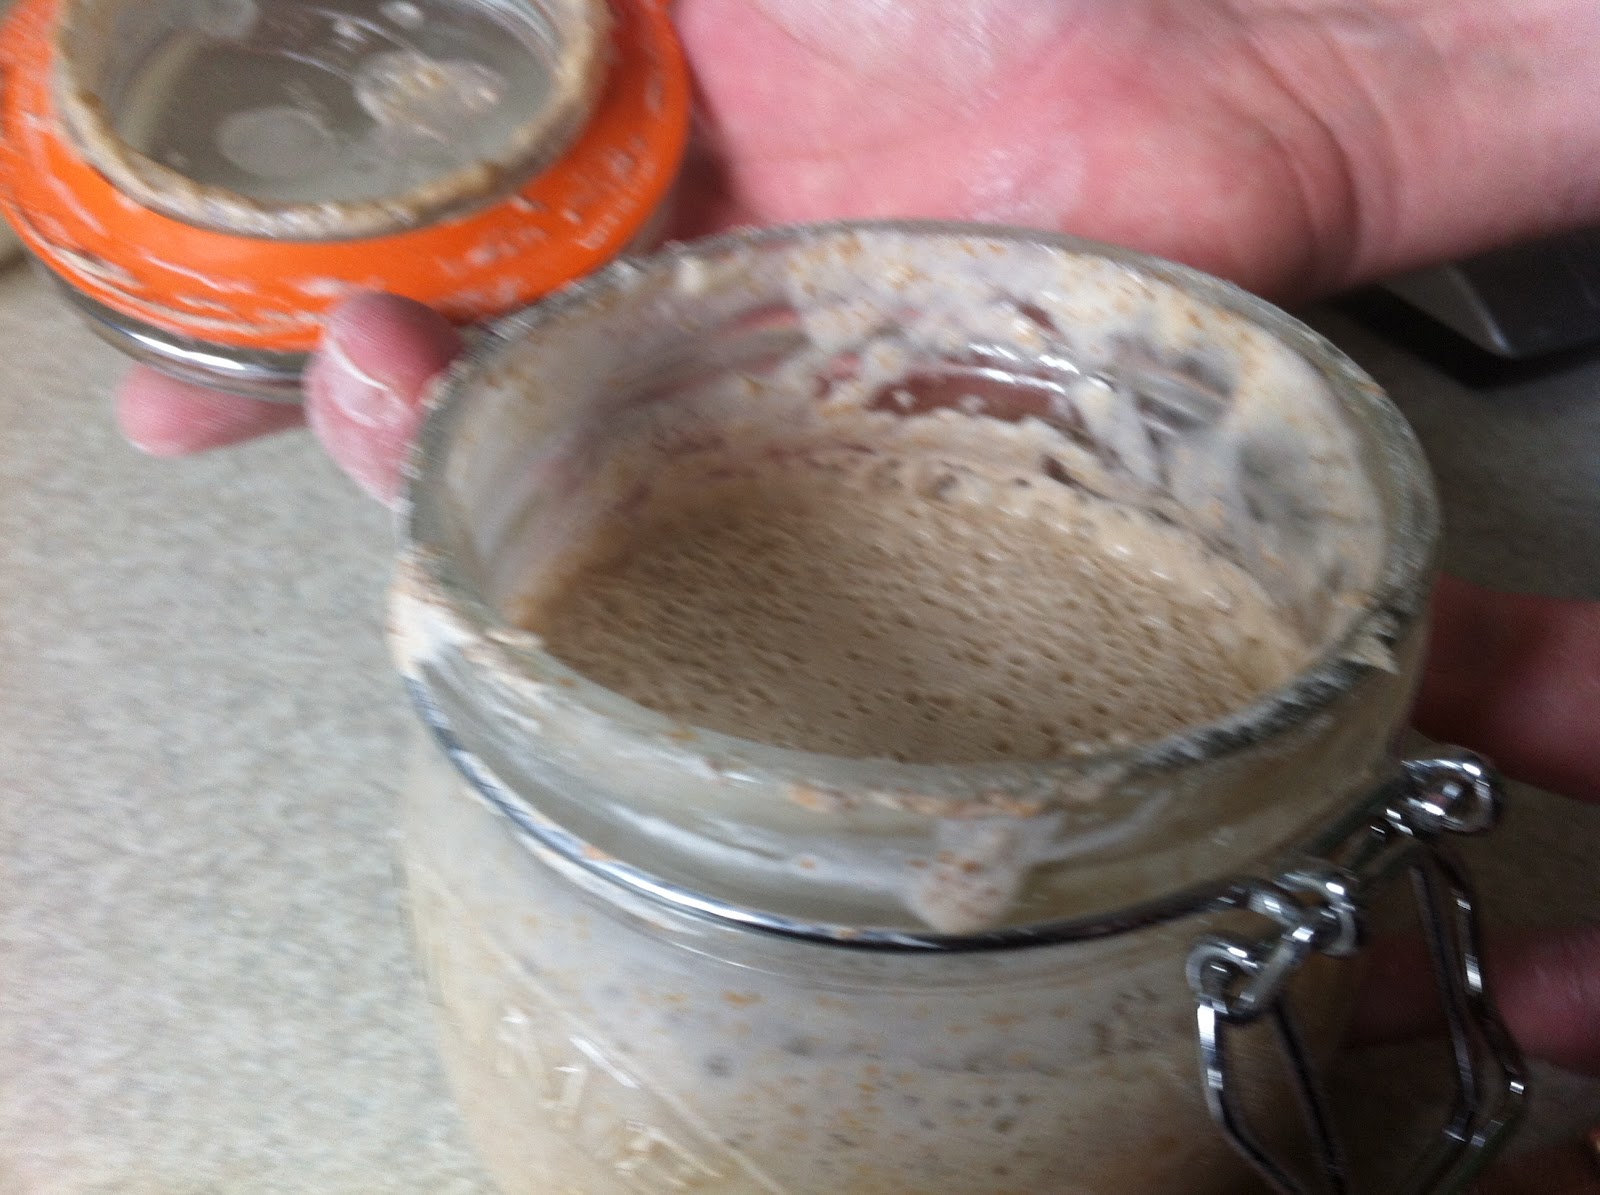
| Mongo, Mongo Jr., and Hobbs (adopted) - they all live in the fridge hence the seals on the jars... |
A sourdough 'starter' made from fermented flour and water is used instead of dried or fresh yeast to make your sourdough bread rise.
It takes longer to rise the dough, but you get a very different flavour and texture and also a hell of a lot of satisfaction from knowing that you've made bread in just about the most old fashioned way possible! (oh and it tastes nice!)
It's a bit of a 'project' rather than just a recipe, but once you have a successful starter on the go you can use it again and again.
You can buy jars of sourdough starter mail-order, but there's nothing quite like getting your own starter going to get that real 'I did that...' feeling of pride when you've successfully baked you first sourdough loaf.
It's actually very simple to make a starter - all you need is a bit of patience. If it doesn't work, just try again. It took me a couple of attempts before I got it to work, but I would actually consider that to be part of the process now...
My starter has been named 'Mongo' and is now 3 months old...
Ingredients (to start off with)
Note : 1 'cup' = 230ml- 1 cups strong bread flour - preferably wholemeal
- 1 cups - preferably spring water or cooled boiled water - room temperature
- 5-6 raisins (optional)
Equipment
- A very clean (sterilised if possible) jar with a lid - see picture above - Note - it doesn't need to seal tight and in fact for the 'creation' process you specifically don't want it to be airtight.
- Measuring cups / jug
- Mixing Spoon
Method
Note: if you see any mould forming at any point in the process chuck it all away and start again. Mould shouldn't form as alcohol is created as a part of the chemical process so should naturally sterilise the mixture.Day 1
 Mix the water and flour in the jar, add the raisins.
With the jar open 'waft' it around your kitchen. This might seem a little odd, but it helps to catch any natural yeast spores that are just floating around in the air.
There are natural yeast spores everywhere, but in varying quantities. If you do a lot of bread making or beer brewing then you should have plenty. If not then the raisins will 'help your starter along' because the folds of the raisins contain natural yeast.
Leave the jar at room temperature for 24 hours.
Day 2

 You may notice some fermentation, ie bubbles on the surface of the mixture, but don't worry too much if you don't.
Tip half the mixture away then 'feed' it by mixing in another cup of flour and another cup of water.
Leave it another 12-24 hours.
Day 3
 You should now start to get a bit of fermentation..
The mixture should be starting to bubble away nicely now - if it doesn't then repeat step 2 again, if you've repeated step 2 more than a couple of times, take a deep breath and start again.
Feed the mixture as in step 2 and leave for 12 hours - the mixture should be bubbling away now and should have roughly doubled in size. At this stage keep the jar on a tea tray or something similar - I've woken up to a right sticky mess several time when my mixture just went absolutely bananas overnight!.
Day 4
OK you should have some good fermentation going now - the mixture should have a tangy alcoholic smell to it.It should now be ready to use so you now have some options....
Storage
Option 1 - Use the sourdough starter
Now this is important - you don't use it all and then start from scratch for you next loaf. The starter is a living thing and some claim to have kept sourdough starter going for many years - there are some available mail order that claim to be descended from strains first started in ancient Egypt! My starter is relatively young and has only been alive since February.Feed the starter with a 1/2 cup of flour and 1/2 a cup of water 12 hours before use.

Feed the starter with 1/2 a cup of flour and 1/2 a cup of water after use.
Option 2 - Keep feeding every couple of days.
If you aren't using it to bake with then chuck 1/2 the mixture away and replenish with about a cup of flour and a cup of water each day.You don't need to use wholemeal flour every time - I mainly use white, but occasionally experiment with some rye or seeded. If my starter is being a bit lethargic (ie is taking longer to rise than normal) then I normally pep it up with some wholemeal as that sort of flour as there is a bit more for the yeast to get excited about in that...
This option is a bit 'faffy' and potentially expensive I would only advise doing it if you are going to be baking sourdough on a regular basis.
Option 3 - Keep it in the fridge

You will get a layer of liquid on top of the mixture, but this is just the alcohol separating out and nothing to worry about - just mix it back in before your next 'feed'.
Option 5 - Freeze it
I haven't tried this, but apparently it works...Heat will kill yeast, but cold just slows it down. I would suggest freezing it in a takeaway tub - definitely not that jar as it will probably break.
I'll update the blog when I've tried it.
Option 6 - Dry it
I think this is how they managed to 'resurrect' the ancient Egyptian starter.I haven't tried this either, but I think you need to minimise hydration (i.e. add a bit more flour), allow it to 'feed' for a few hours then spread in a thin layer on some baking parchment and allow to dry.
Once completely dry peel from the paper and keep in an airtight jar.
Rehydrate with a little water, then feed.
I'll update the blog when I've tried this as well.
Hydration
As your starter matures you may also want to adjust the lebel of hydration a little so that your dough isn't too sticky. I currently feed with 1 cup flour to 1/2 of water. basically you need to keep a your jar about half full and then top up with approximately 300ml of flour / water combined (1 'cup' = 230ml)That's it! - I've become fascinated by the process and what can be achieved - If you really can't handle the time commitment however, let me know and I can supply a small jar of Mongo for a negotiable fee :-)
No comments:
Post a Comment
Please leave a comment...