
Intro
As mentioned in previous posts, Sourdough is one of the oldest most basic 'artisan' loaves one can make.It uses naturally occurring wild yeast rather than commercially produced product and has a very low fat content.
It never ceases to amaze me, how the combination of only 3 basic ingredients - Flour, Salt and Water - can produce such a tasty cornerstone of the western diet.
There are few more satisfying moments that when one produces a perfect sourdough loaf right the way from the creation of the 'starter' through to that first warm buttered slice - you really do get a sense of 'I did that!'...

Health Benefits etc...
Besides tasting lush, Sourdough is chemically fascinating and also has the following health benefits :- Due to the longer rising time and the use of natural yeast, more of the gluten is broken down, resulting in a bread that is more digestible for people with gluten intolerance.
- Natural lactic acid also 'pre-digests' the grain so it's easier in the stomach and creates the distinctive sour 'tangy' flavour.
- Acetic acid, a natural preservative is also produced, giving the bread really good keeping properties of up to 7 days (even longer if left uncut!).
- Sourdough has a lower starch and carbohydrate content, meaning more vitamins and minerals are retained throughout the process + the bread itself is better for maintaining blood sugar levels.
OK - enough of the bluuurb... lets get on with it shall we?
Ingredients
This recipe is based around the Hobbs House Bakery recipe, but I've included 'cup' type measurements as well, especially for my American friends...
Take your sourdough starter out of the fridge about 12 hours before you want to start putting your loaf together and feed it (feed with about 1/2 cup / 80g of wholemeal flour and 1/2cup / 80g warm water
- Strong White Flour 3 1/2 cups / 460g
- Sourdough Starter 1 1/3 cups / 300g
- Sea Salt 3 tsp / 10g
- Warm water Just under a cup (ie 1 cup - 1 tbsp - 1 tsp) / 230ml
As with other bread recipes, 'warm' water should be roughly 'blood' temperature. Mixing 1 part boiling water with 2 parts cold water just about does it
Method
Watch and ring off - clean under your fingernails (you dirty monkey!)
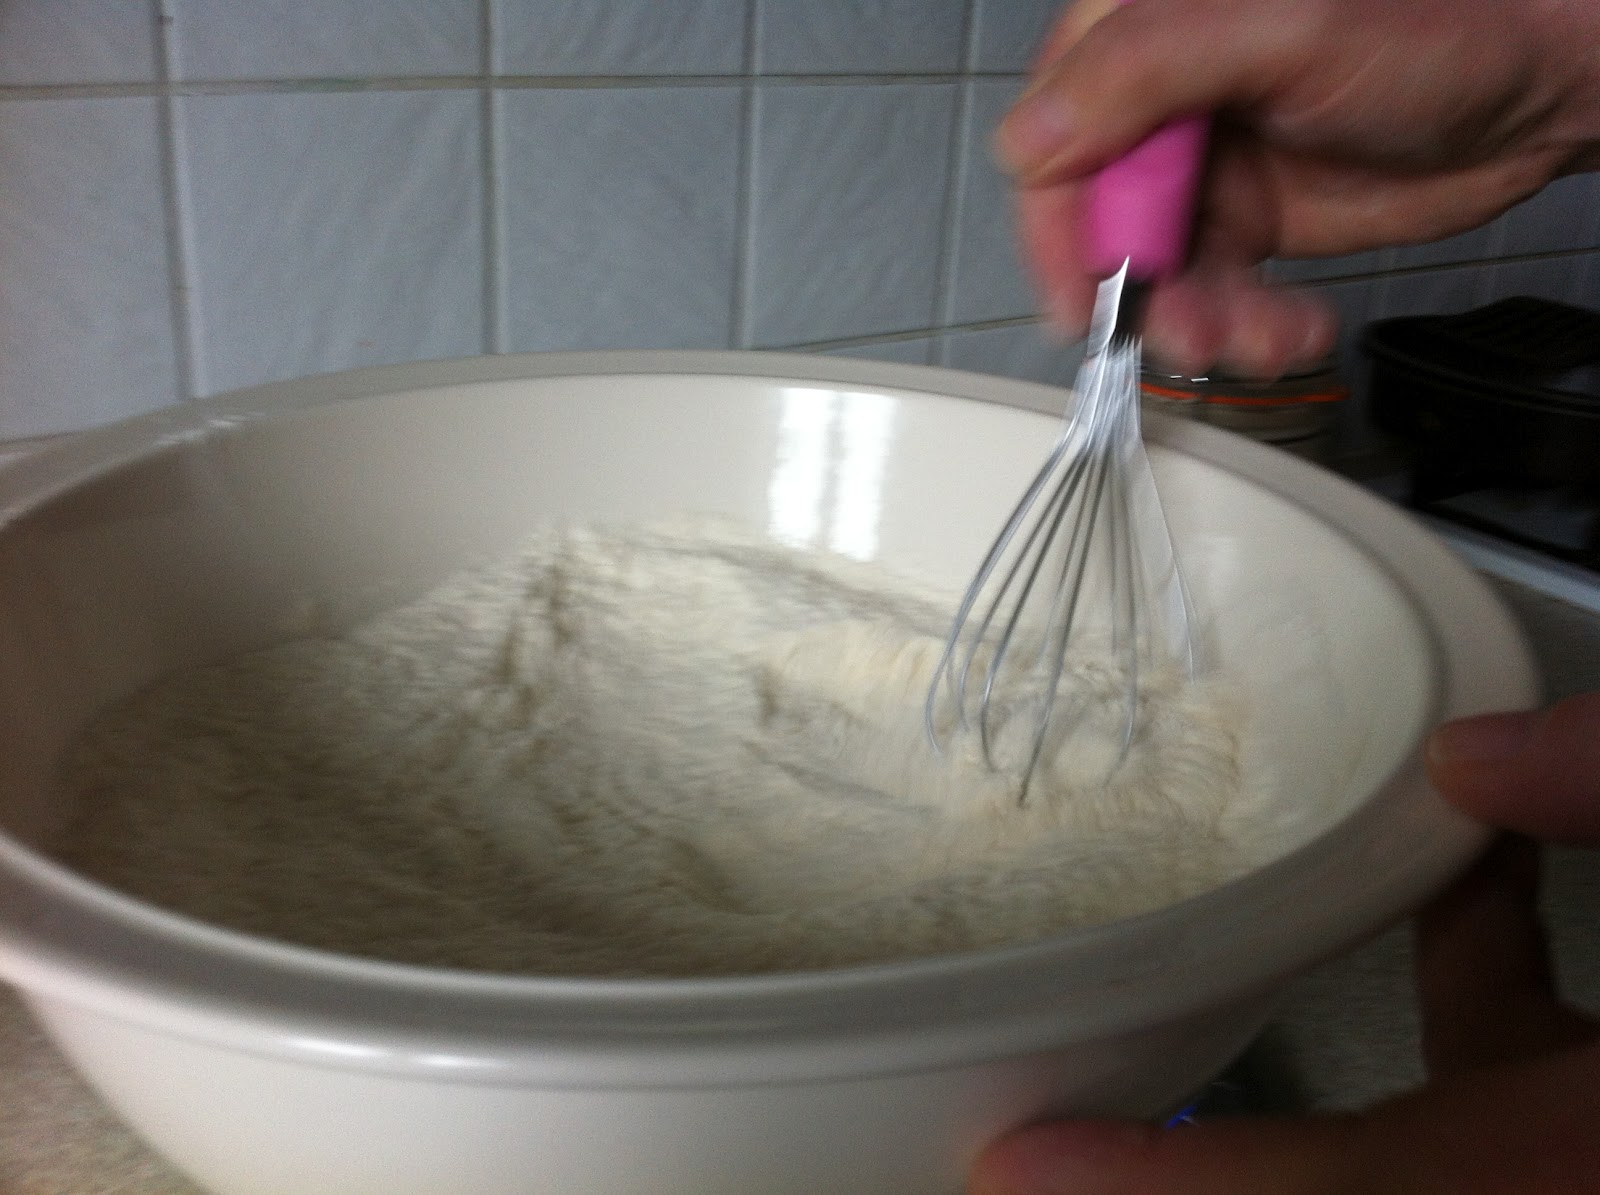
In a large bowl combine all of the ingredients (I use a large tined fork this although you can use your fingers).
Then, with your hands, mix until well combined to form a sticky dough and turn out onto a well floured work surface.


Now - this is where you work it baby!
Pull and stretch the dough - go a bit mental with it, take all of those frustrations and vent them on the dough.


There is no real 'wrong' way to knead dough (except bread machines IMHO!) just keep working it until the dough becomes stretchy and elastic.
Don't worry if it seems really sticky - just keep persevering.
Don't be tempted to add extra flour or your dough will end up too dry. The high hydration content is what make those lovely uneven cells in the loaf, similar to Foccacia.
Use a dough scraper if you have one, just to gather up stray dough from the work surface. The scraper isn't essential, but it does help.
After roughly 10 minutes sprinkle a light dusting of flour into the mixing bowl, scrape up your dough and stick the dough in it.
Cover with cling film (or a shower cap!) and leave to rest for 1/2 an hour.


In the meantime dust your proving basket liberally with flour. If you don't have a proving basket don't worry - use a large bowl lined with a linen tea towel, again well dusted with flour.


With the dusting, I've found that it's a bit trial and error - generally, the rule is to use too much rather than too little - if the dough sticks it really does make things awkward later on!.
I often use rice flour at this stage rather then flour as it has more of a crunchy gritty texture once baked (plus I've got loads left from when I made some Tiger Bread!).
Once the dough has rested scrape it out onto a floured surface.
Stretch and fold it from the side out and then to the centre to form a ball, then place it in your proving basket, fold side up.
Dust the dough liberally then cover with cling film or a shower cap.


Leave to rise for about 12 hours until roughly doubled in size.


Note: if you're having trouble with your time management ie you've ended up with the end of the 12 hour rising time at 3 am(!) stick the dough in the fridge.
This will 'retard' the rise and make it something around twice as long depending on the temperature of your fridge.
You can do a combination of 'fridge retardation' and room temp rising to control when the dough is ready to go in the oven.
One of the golden rules of sourdough though is that you can't rush it - the longer the rise, the better the bread.
As an illustration of this, traditional French baguettes are made using white sourdough and are refrigerated for 48 hours whilst they rise!.
OK - stick your baking stone or heavy baking tray in the oven and get preheated to about 230c/210c fan.

The next bit take a bit of a 'set up' as it takes split second timing...

You will need to 'slash' your dough so that it rises easily, so have a very sharp knife or ideally a razor blade ready.

If you have one, a water sprayer/mister is really handy - once you put your dough in the oven a quick spray of this will help the crust form (careful if you have an electric oven!) . Alternately you could put a tray of boiled water in the bottom of the oven. The vapour helps form a nice crust.
OK - so here we go... you should try to do this all in about 20 seconds...


 Dough into the oven

Quick couple of sprays of your water mister then shut the oven
Bake for 25-30 minutes
DON'T PANIC! if your dough 'sinks', the heat and humidity should allow it to 'spring' back. Even it it looks disappointing, don't worry, you will still have something that tastes great...


Once baked it should sound hollow when tapped on the bottom - leave it to cool on a rack for at least 30 minutes, then enjoy with lashings of butter, Marmite, mustard, salami, chocolate spread, jam, soup, gravy etc (you get the idea!)
Oh - it makes cracking toast as well!
Above all, remember the the 4 P's of bread making :
Preparation
Patience
Practice
Passion
